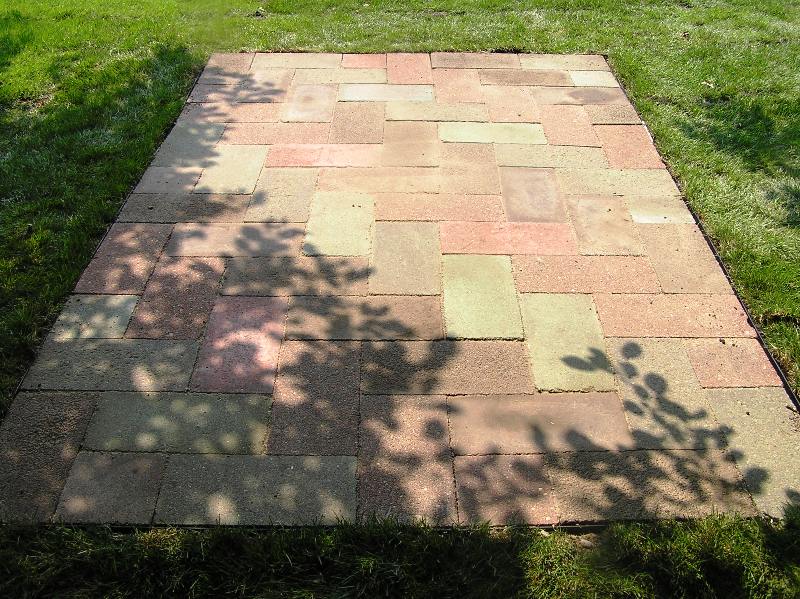
Laying pavers on a concrete slab is more delicate than laying them on a sand bed, a dry laying technique. However, for a roadway, sealed installation becomes essential with pavers less than 6 cm thick. I also prefer a fresh mortar installation for a pedestrian area when the pavers are very thin (less than 3.5 cm wide).
If the ground is bare, a reinforced concrete slab must be poured and left to dry for one to two months, depending on the outside temperature. Then, the paving must be laid on the slab, and the joints sealed.
Here are the successive steps to lay pavers on a concrete slab.
1. Define your project
To make your project a success, define it before starting the work.
– Draw a plan of the area to be paved, noting its dimensions.
Good to know: to be sufficiently precise, draw your plan on a 1/25th scale grid paper (4 cm = 1 m).
– Draw the layout of the paving stones (the patterns formed with the paving stones). Aligned laying is the simplest, but you can also choose a staggered joint, scale, fan, peacock-tail, etc. laying, depending on the desired aesthetic effect and the available surface area. The layout allows you to plan the paving stone cuts, especially at the corners.
– Based on the layout, calculate the quantities of materials needed for the paving.
Good to know: always allow for a 5 to 10% surplus when ordering the pavers to compensate for cutting losses and the risk of breakage.
– If the concrete slab is to be made, determine the depth of excavation required (usually about 40 cm). Take into account the nature of the soil, the dimensions of the slab, and the different layers to be provided: hedgehog, reinforced concrete layer, mortar layer, and paving stones. Also, calculate the quantities of materials to be ordered.
For example: for a driveway, the thicknesses of the different layers are 15 cm for the draining hedgehog, 13 cm for the concrete slab with reinforcement, 4 cm for the mortar bed, and 5 cm for the pavers. This means that a 37 cm clearance is required.
2. Create the concrete slab
If the ground is bare, start by making the concrete slab that will support the paving.
Uncover the ground
– Mark out the surface of the slab with stakes and ropes.
– Dig with a shovel to the planned depth, leaving a slope of 1 to 2% for rainwater drainage.
Good to know: if the area exceeds 10 m2, rent a mini excavator to dig the soil. It’s much faster and less tiring!
Form a hedgehog
– Install a sub-layer of crushed elements: stones, gravel…
– Tamp with a manual or electric tamper.
Make the formwork
– Cut the boards to the size of the slab.
Good to know: use oiled boards to make them easier to remove during form removal.
– Place them on the dismantled surface, making sure not to leave any gaps at the corners.
– Always respect the 1 to 2% slope of the formed formwork. Check and adjust the level with a spirit level.
Good to know: lay a geotextile film at the bottom of the formwork to prevent moisture from rising and limit grass growth through the concrete slab.
Pour the concrete
– Place the reinforcement mesh on small wedges placed on the lowered base.
Good to know: always make sure to raise the mesh a few centimeters, thanks to the wedges, to ensure it is completely embedded in the concrete.
– Waste the necessary quantity of concrete.
– Pour the concrete and level it as you go along by sliding a mason’s rule over the formwork boards.
– Finally, smooth the concrete with a trowel in circular motions.
– Let it dry for at least 24 hours, then remove the formwork.
– Wait for 1 to 2 months before paving over it.
3. Prepare the slab

The paving process begins with the preparation of the surface.
– Carefully clean the surface of the slab with a broom or even a vacuum cleaner, and you can also hose it down.
– Form the slab with boards. Use sufficiently thick boards (at least 27 mm wide).
– Secure the boards with the stakes that are slid into the outside of the formwork. Extend the boards beyond the slab by 3 to 5 cm (i.e., the paving stone bed).
– Make sure the form follows the 1 to 2% drainage slope.
Good to know: if the slab does not have a slope, create one at the level of the mortar bed formwork.
4. Lay the pavers on fresh mortar
– Prepare the mortar.
– Spread the mortar bed on the slab.
– Level the bed by sliding a mason’s rule over the formwork.
– Lay the pavers, starting at one end, in the same manner as on a sand bed. If there are any cuts in the pavers, make them with a grinder.
Caution: when laying in place, leave joints of about 1 cm between the pavers.
– Regularly check the level and slope of the pavers with a spirit level. Correct if necessary.
– Let dry for at least 48 hours before moving on the paving and grouting.
5. Make the joints of the pavers
– Prepare a fairly liquid joint mortar (follow the manufacturer’s instructions).
– Pour the mortar over the paving, then work it into the joints.
– Clean the pavers as soon as the mortar sets.
– For a neat finish, smooth the joints with a jointing iron.
Finally, apply a maintenance product to your pavers to protect them for a long time.